

Refresh Your Equipment, Strart Training now!
How Do I Design A Free Weight Zone In My Home Gym Step-by-Step?
Posted by Gym Direct,24th April 2026
How Do I Design a Free Weight Zone in My Home Gym Step-by-Step?
Building a home gym is one thing, but designing a proper free weight zone is where everything starts to feel professional, powerful, and genuinely motivating. This is the space where strength is built, progress is tracked, and consistency becomes easier because everything you need is right in front of you.
The challenge? Most people either overcrowd the space or don’t structure it properly. The result is a gym that feels cluttered, unsafe, or underused. This guide breaks it down step-by-step so you can design a free weight zone that is efficient, safe, and built for long-term training success.
Why Planning Your Free Weight Zone Matters
A well-designed training space does more than just hold equipment, it directly impacts how you train.
Layout, spacing, and equipment placement all influence your movement efficiency, lifting performance, and overall consistency. When everything has a purpose and position, your workouts flow better, transitions are quicker, and you can focus fully on training instead of adjusting your environment.
In short, good planning turns a basic setup into a high-performance training space.
With that in mind, the first decision starts with your space itself.
Step 1: Choose the Right Space for Your Free Weight Zone
The foundation of your gym isn’t equipment, it’s the space itself.
Your free weight zone needs enough room for natural movement patterns like squats, presses, lunges, and deadlifts. If you feel restricted before you even start lifting, the setup won’t work long-term.
Garages are the most popular option because they offer open floor space and durability. Spare rooms and sheds also work well if ventilation is good. The key isn’t just size, it’s usability. You should be able to move freely, load weights safely, and train without constantly adjusting your position.
Lighting also plays a bigger role than most people realise. A bright, well-lit space improves focus, boosts motivation, and helps reduce injury risk by improving form visibility.
Step 2: Install Proper Rubber Gym Flooring
If there is one investment that completely transforms your training environment, it’s flooring.
Rubber Gym Flooring provides shock absorption, protects your joints, and prevents damage to both equipment and surfaces. Dropping weights on bare floors can create noise issues and long-term structural damage.
Beyond protection, it also improves performance. A stable, non-slip surface builds confidence during heavy lifts and creates a more professional training feel.
Think of flooring as the base of your entire setup, everything else depends on it.
Step 3: Set Up a Power Rack as Your Main Training Hub
The Power Rack is the centrepiece of any serious free weight zone.
It allows you to safely perform compound movements like squats, bench presses, overhead presses, and pull-ups. Safety bars mean you can train alone without a spotter, which is a major advantage in a home gym.
It also supports progressive overload, allowing you to confidently increase weight over time. Many racks include attachments like dip bars or cable systems, increasing versatility.
If you only invest heavily in one piece of equipment, this should be it.
Step 4: Add a Squat Rack for Speed and Accessibility
While a Power Rack offers structure and safety, a Squat Rack brings speed and simplicity.
It’s ideal for lifters who want faster transitions between exercises or have limited space. You can quickly set it up for squats, bench presses, and barbell work without the enclosed frame of a full rack.
It works especially well for high-intensity training or supersets where efficiency matters.
Some advanced setups even combine both systems, one for heavy structured lifting, the other for fast-flow sessions.
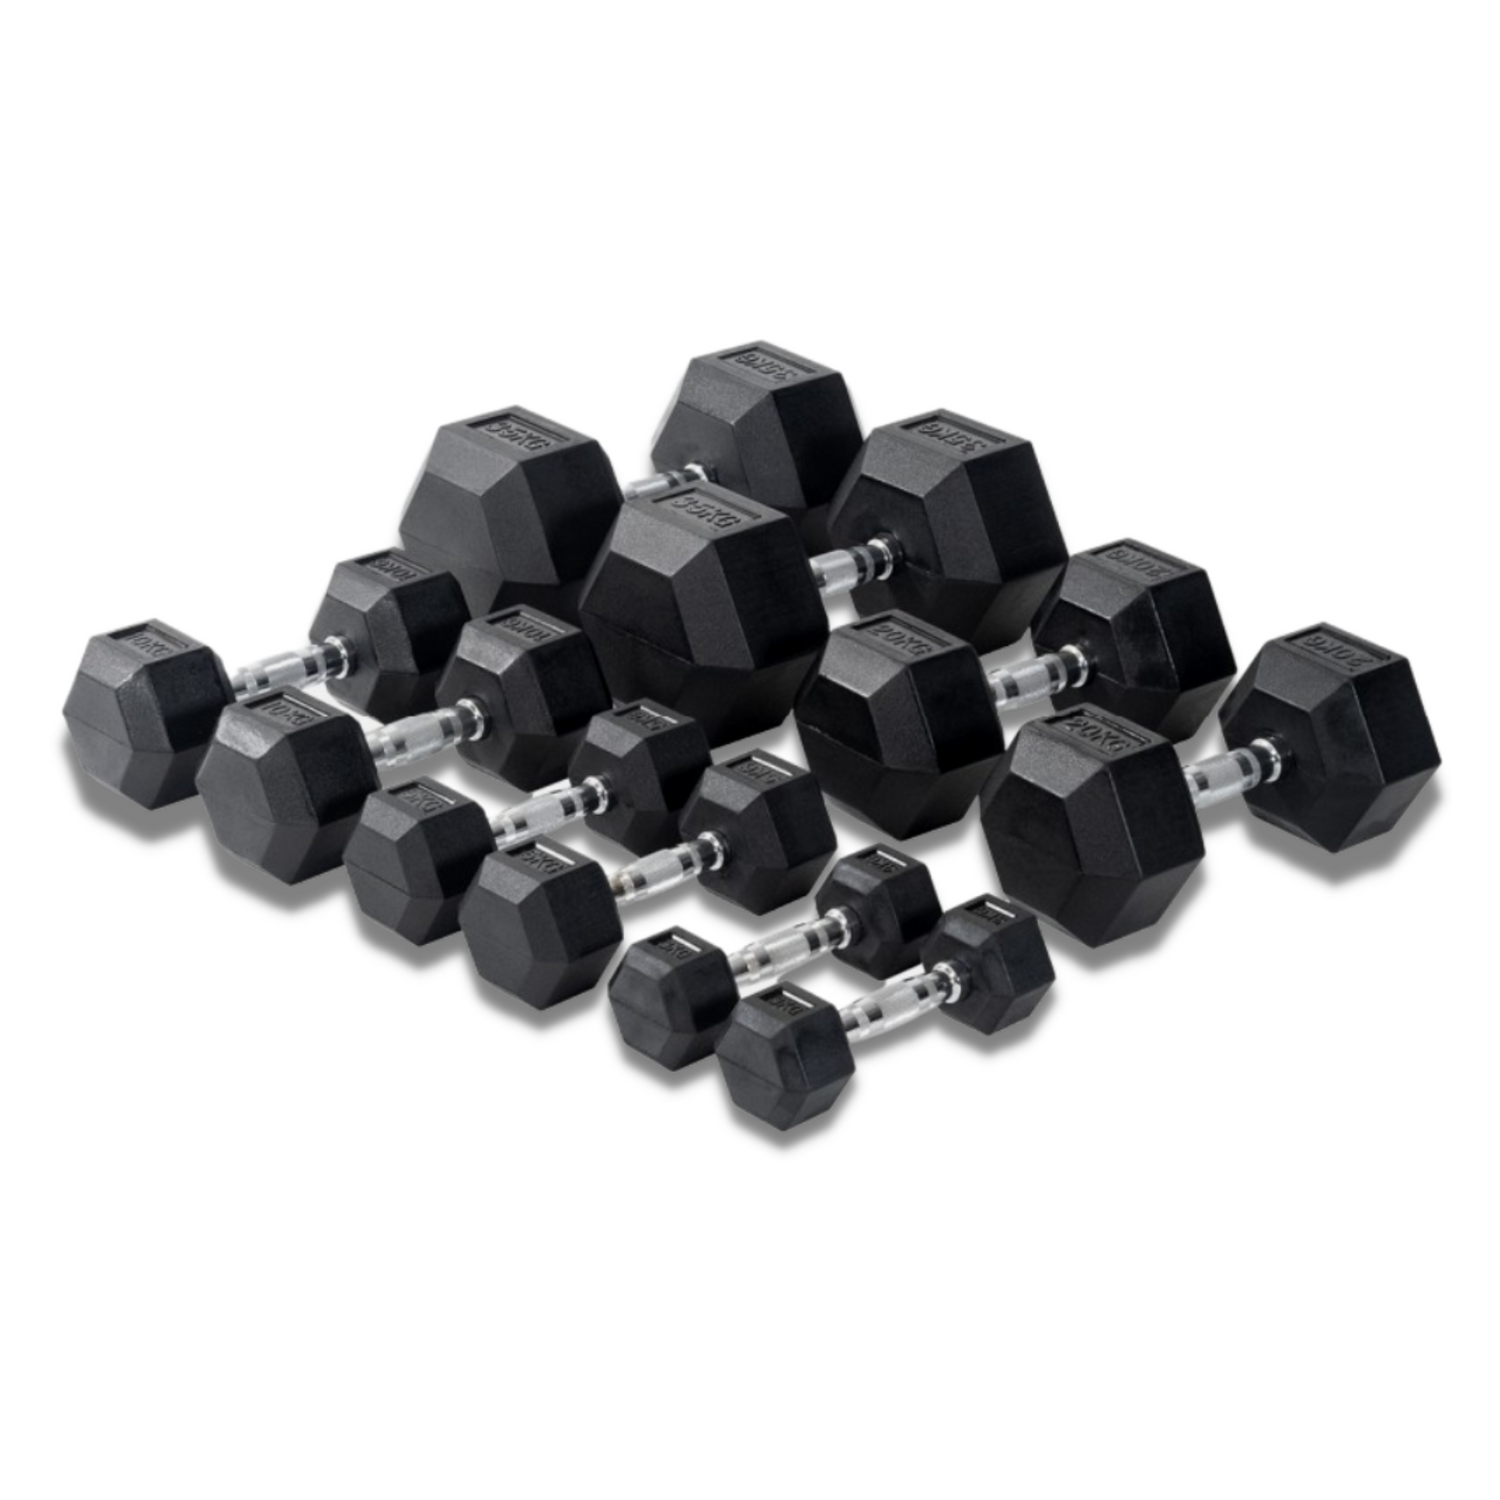
Step 5: Organise Your Weight Plates Properly
Weight Plates are essential, but without organisation, they quickly create clutter.
A plate tree or vertical storage system keeps your space clean, safe, and efficient. It also improves workout flow by allowing quick loading and unloading between sets.
Proper organisation supports progressive overload by making small, consistent weight increases easy to manage.
A structured plate system improves both safety and training efficiency.
Step 6: Build a Versatile Dumbbell Setup
A quality Dumbbell setup is one of the most valuable parts of any free weight zone.
Dumbbells allow unilateral training, helping correct muscle imbalances and improve stability. They can be used for presses, rows, lunges, curls, and full-body circuits.
You can choose between fixed dumbbells for speed or adjustable systems for space efficiency.
Either way, they are essential for balanced strength development.
Step 7: Add Barbells for Strength Progression
If dumbbells provide versatility, Barbells deliver raw strength development.
They allow you to lift heavier loads safely, making them essential for foundational movements like squats, deadlifts, and bench presses.
When paired with a rack system, barbells enable structured progression, which is critical for long-term strength and muscle growth.
They are a non-negotiable part of any serious home gym setup.
Step 8: Include an Adjustable Bench for Exercise Variety
An Adjustable Bench instantly expands your training possibilities.
By shifting between flat, incline, and decline positions, you can target muscles from multiple angles, especially during chest, shoulder, and upper-body training.
It also supports exercises like dumbbell presses, step-ups, and supported rows.
A stable bench improves both exercise variety and safety during heavy lifts.
Step 9: Design Your Training Layout for Flow and Efficiency
Once equipment is selected, layout becomes the most important factor.
Your rack should anchor the space as the central training point. Your bench should be positioned nearby for quick transitions. Weight Plates should be within easy reach of your lifting station.
Dumbbells should be stored in a dedicated area that doesn’t interfere with movement paths.
A smart layout reduces wasted time, improves workout flow, and increases training intensity.
Step 10: Prioritise Safety and Long-Term Durability
A good setup isn’t just about performance; it’s about sustainability.
Ensure your flooring is thick enough for impact absorption, and that all racks are stable and correctly assembled.
Keep walkways clear, store weights securely, and avoid unsafe stacking.
Regularly check bolts, attachments, and equipment condition. A home gym is a long-term investment, and maintenance protects both safety and performance.
Step 11: Create a Training Environment That Motivates You
Your environment plays a bigger role in consistency than most people think.
Good lighting, airflow, mirrors, and even music can significantly improve motivation and focus.
A clean, organised space naturally encourages regular training.
The goal is simple, you should want to train every time you walk into the room.
Step 12: Build for Progress, Not Perfection
Many people delay starting because they try to build everything at once.
Instead, start with essentials like a Power Rack, Barbell, Dumbbells, and Rubber Gym Flooring, then expand over time.
Your training space should evolve with your strength and goals.
As you progress, your setup should grow with you, not hold you back.
Final Thoughts: The Takeaway
A well-designed free weight zone is more than just equipment—it’s a system that supports consistency, strength, and long-term progress.
When your Weight Plates, Barbells, Dumbbells, Squat Rack, Power Rack, Adjustable Bench, and Rubber Gym Flooring are all placed with intention, your home gym becomes a high-performance training environment.
Start simple, focus on layout, and build with purpose. Over time, your space won’t just support your training, it will actively elevate it.
FAQs
How big should a free weight zone be in a home gym?
A minimum of 6–10 square metres works, but more space improves safety and movement flow.
Do I need both a Power Rack and Squat Rack?
Not necessarily. A power rack covers most needs, but a squat rack adds speed and flexibility.
What flooring thickness is best for weight training?
At least 10–15mm rubber flooring is recommended for impact protection and stability.
Are Dumbbells or Barbells more important?
Both are essential—dumbbells for versatility, barbells for strength progression.
How do I stop my home gym from feeling cluttered?
Use proper storage for weight plates, keep walkways clear, and design a logical training flow.
Disclaimer: The information provided in this article is for general guidance and informational purposes only. It should not be considered a substitute for professional advice or consultation. Always consult with a qualified fitness trainer or healthcare provider before starting any new exercise regimen or making significant changes to your fitness routine, especially if you have any underlying medical conditions or health concerns. The authors and publishers of this article do not assume any responsibility for the accuracy or completeness of the content and shall not be held liable for any direct, indirect, or consequential damages arising from the use of information contained herein. You are solely responsible for your health and fitness decisions, and any actions you take based on the information presented in this article are at your own risk.
Shop our range
SUBSCRIBE TO OUR NEWSLETTER
Recieve our latest weekly releases, offers, guides and more.